How to configure FTP server on Ubuntu 20.04


First of all Make sure your system is up to date, To do that, type the following command
sudo apt update && sudo apt upgrade
Step 1 - Install vsftpd
Use the following command to install vsftpd
sudo apt install vsftpd
Step 2 - Configure Firewall
Let’s open ports 20 and 21 for FTP, and ports 40000-50000 for passive FTP. We’ll also open port 990 for TLS
sudo ufw allow 20/tcp
sudo ufw allow 21/tcp
sudo ufw allow 40000:50000/tcp
sudo ufw allow 990/tcp
if you are Configuring a cloud server then make sure to allow ssh so that you don't get locked out of your server. Run the following command to allow SSH
sudo ufw allow openssh
Now Enable the firewall
sudo ufw enable
Check Status of firewall
sudo ufw status
It should look like this

Step 3 - Create a FTP User
We will now create a new user that we will use to log into FTP. In this example, we will create a new user called ftpuser
sudo adduser ftpuser
Generate a strong password and keep it safe.
You may also be asked to enter some contact information. You can just press ENTER to each of these.
Step 4 - Grant Directory Permissions
You now need to decide where this new FTP user is allowed to view and upload files.
vsftpd uses chroot jails to restrict users to their home directories and requires that the home directory is not writable. For that reason, we have to set up some directories and permissions.
We want this user to upload files to the home directory, so we will create a new directory called ftp in the user’s home directory and another within it called files
sudo mkdir /home/ftpuser/ftp
Set the ownership of the ftp directory to no nobody:nogroup.
sudo chown nobody:nogroup /home/ftpuser/ftp
Set permissions for the ftp directory using chmod so that it is not writable by anyone, otherwise vsftpd will not allow you to log in
sudo chmod a-w /home/ftpuser/ftp
Next we will create a new directory within /ftp where the user can view and upload files.
sudo mkdir /home/ftpuser/ftp/files
Assign ownership of this directory to our new FTP user otherwise they will not be able to write to it.
sudo chown ftpuser:ftpuser /home/ftpuser/ftp/files
Step 5 - Configure vsftpd
Rename the config file.
sudo mv /etc/vsftpd.conf /etc/vsftpd.conf.bak
Create a new config file with Vim editor.
sudo nano /etc/vsftpd.conf
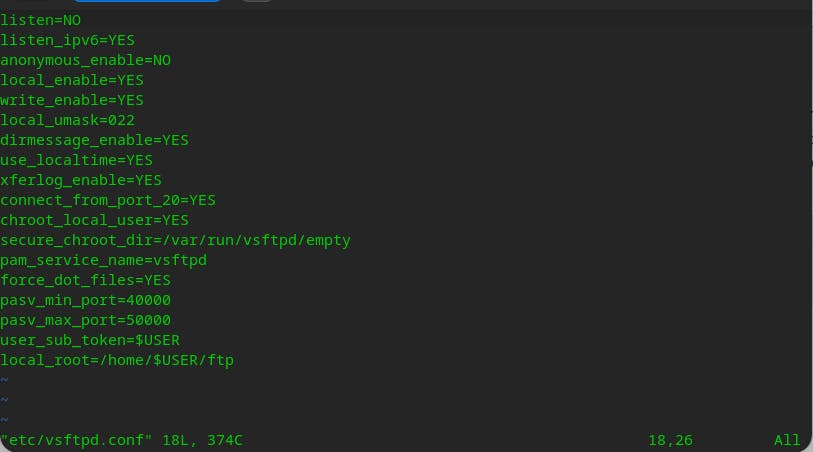
Paste in the following:
listen=NO
listen_ipv6=YES
anonymous_enable=NO
local_enable=YES
write_enable=YES
local_umask=022
dirmessage_enable=YES
use_localtime=YES
xferlog_enable=YES
connect_from_port_20=YES
chroot_local_user=YES
secure_chroot_dir=/var/run/vsftpd/empty
pam_service_name=vsftpd
force_dot_files=YES
pasv_min_port=40000
pasv_max_port=50000
user_sub_token=$USER
local_root=/home/$USER/ftp
Your final config file should look like this
Now Save and exit the file
To exit Vim editor Press esc then Shift^ZZ.
Restart vsftpd to apply new changes.
sudo systemctl restart vsftpd
Step - 6 Test FTP
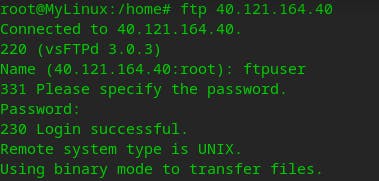
Open terminal and type the following Command
ftp <your-ftp-server-ip>
you will be prompted to enter username and password, Enter the username and password of the ftp user which we have created earlier, If everything is Perfect you will get a login Successful message.
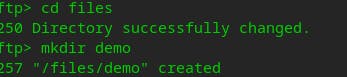
Now you can runy any file command you want like cd, mkdir,ls etc.